PlanBin the studio
Beam
Beam draws a beam between two clicks, with the section chosen beside the tools, spanning under the ceiling of the level. Its ends join other beams' ends the way walls join, and its size is then set in its panel.
What it is
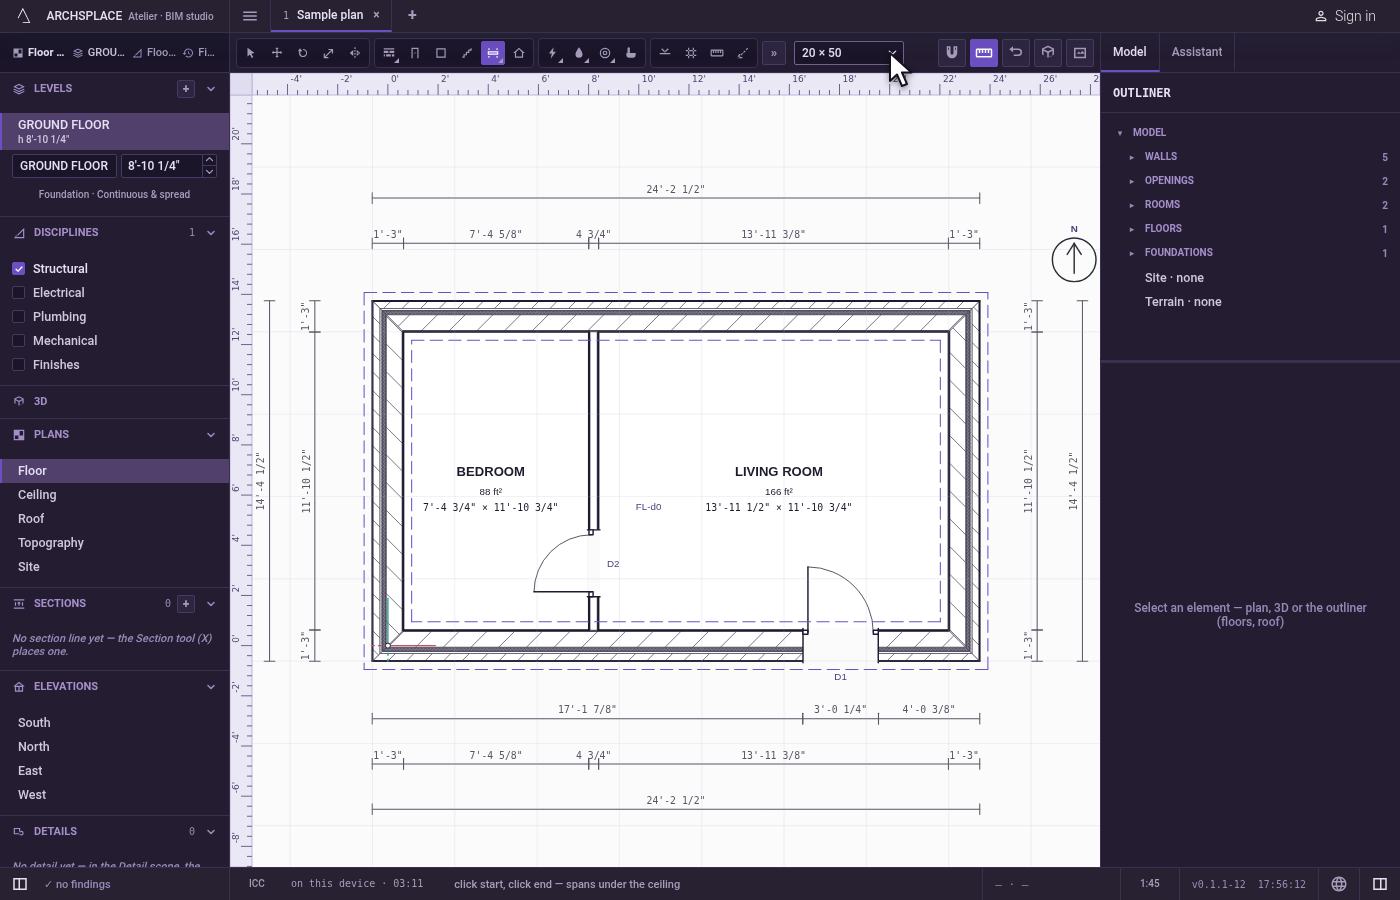
Beam draws a straight beam from one point to another. The list beside the tools offers four sections, width by depth: 15 by 40, 20 by 50, 25 by 60 and 30 by 70 centimeters. The beam spans under the ceiling of the level it is drawn on.
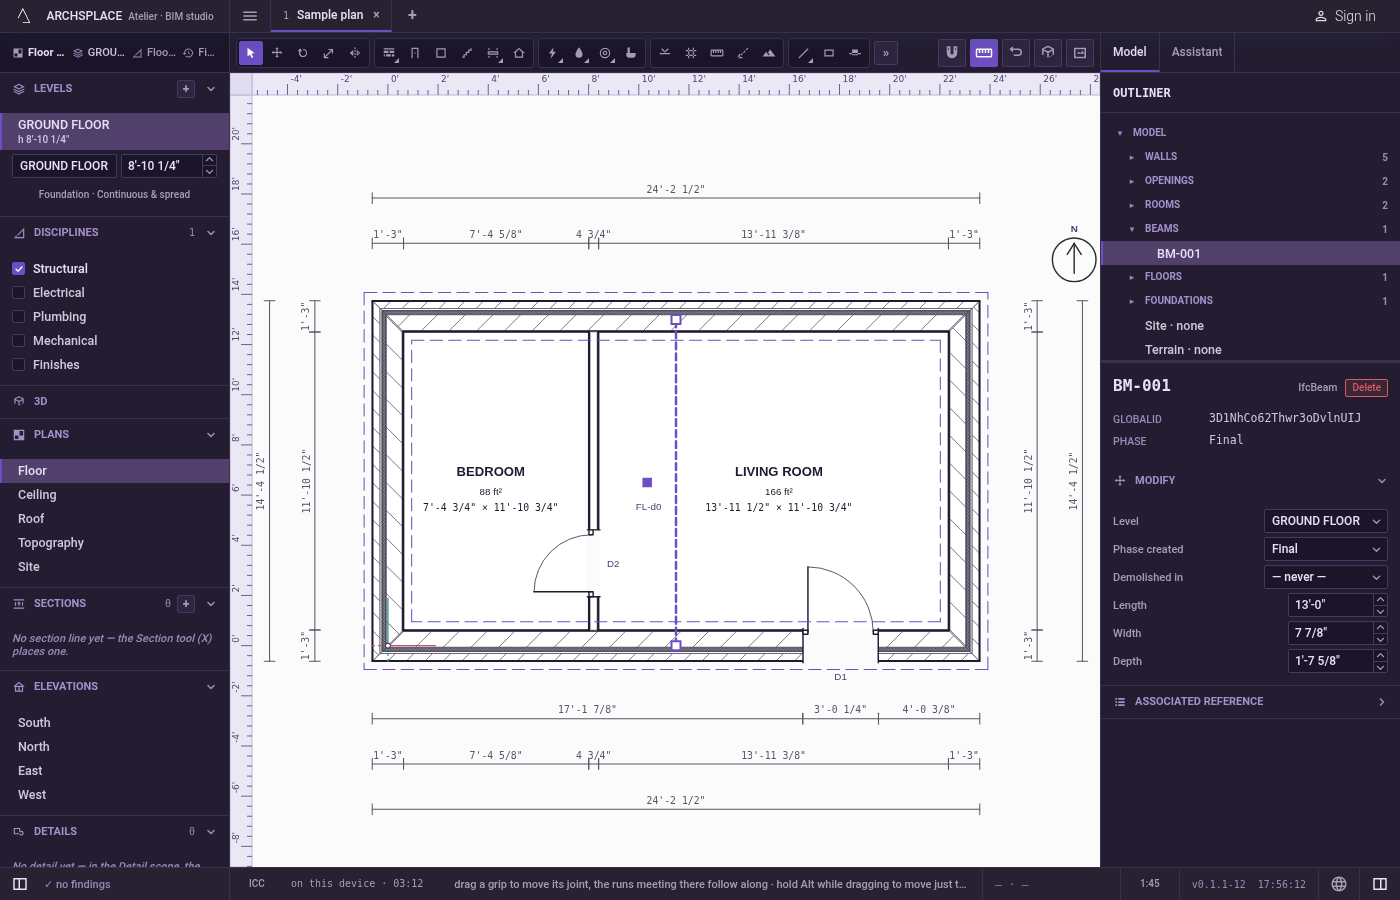
A beam is a run, like a wall or a pipe: an end you put on another beam's end joins it, selected beams show grips where they meet, and a joint moves with every beam meeting there.
When to use it
- Spanning between columns of a structural grid.
- Carrying a floor over an opening or a large room.
- Redrawing the beams of a surveyed building.
The steps
Take the tool. Press
B, or click the Beam button. The status bar says to click the start and the end.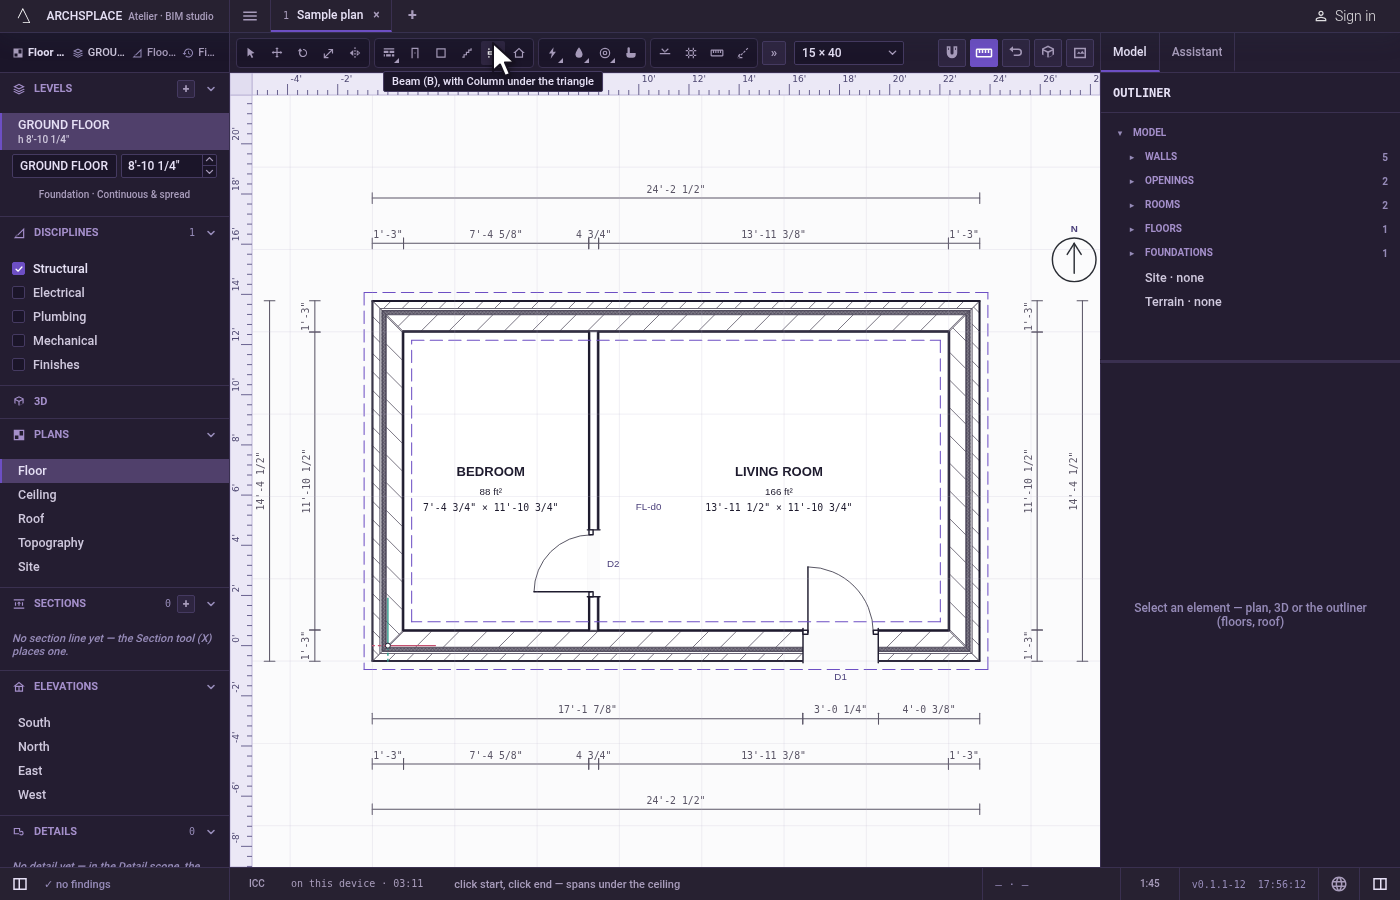
Choose the section. Pick it in the list beside the tools.
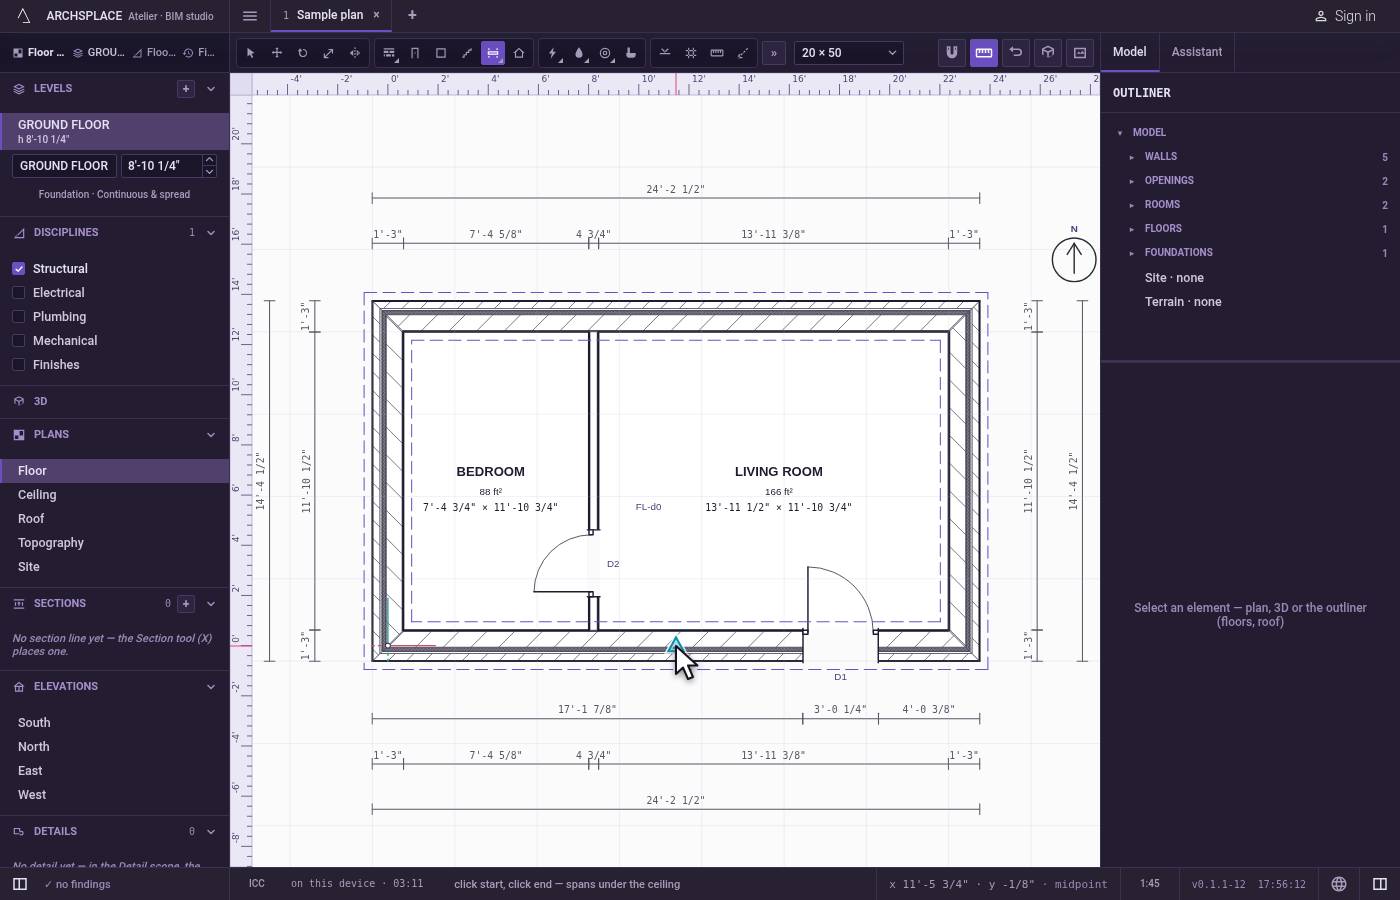
Click the start. The magnet holds the click on a column's center, a wall's corner, a grid crossing or another point within reach.
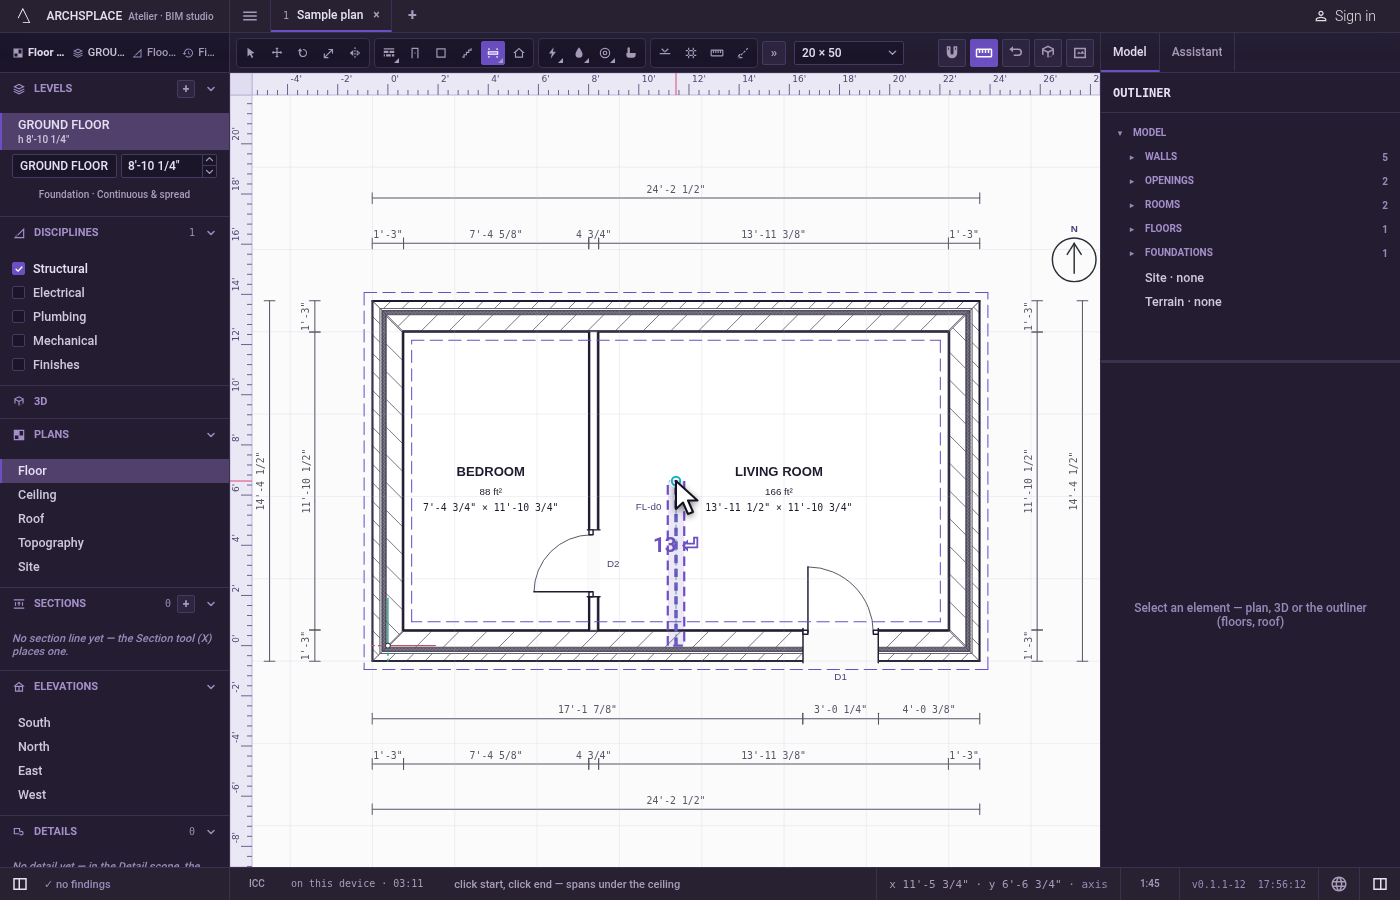
Click the end, or type the length. Click where the beam ends, or type its length in the project's units and press Enter to end it that far toward the cursor. Shift, or F8 while it is on, keeps it horizontal or vertical. Each beam takes two new clicks; the next one does not start where the last ended.
Adjust it in its panel. Select the beam with Select to type its width, its depth or its length.
What it refuses
- A beam under 10 cm. The project refuses a beam shorter than 10 cm: the status bar counts one more error, and its list says the beam has no length.
- A second click on the start. A click within the magnet's reach of the start does nothing.
What it writes to the contract
One new entry at the end of the project's list of beams, as one step that one undo takes back: the level, its two ends in meters, its width and its depth, and the phase the view draws in. An end that joined another beam's end is written at exactly that end.
Concepts
Related
Common questions
Where does a beam stand in height?
Under the ceiling of the level it is drawn on. It shows on the plans with the Structural overlay and on the ceiling plan, as a beam overhead.
Do beams chain like walls?
No. Each beam is its own two clicks. An end put on another beam's end joins it, so the two meet in one point.